
I know you are dying to see the Sitecore 9 login window and the home page rendering with default layout . Don’t worry this is the last step towards that stage when we will be installing the SIF script.
1. Sitecore 9 Installation Guide provide the script to be executed. But before executing that we need to update few configurations under #define parameters section in the script, I marked them in BOLD.
#define parameters
$prefix = “sc9”
$PSScriptRoot = “D:\Sitecore9\SC9Install”
$XConnectCollectionService = “$prefix.xconnect”
$sitecoreSiteName = “$prefix.sc9local”
$SolrUrl = “https://localhost:8983/solr”
$SolrRoot = “D:\Sitecore9\solr-6.6.2”
$SolrService = “solr662”
$SqlServer = “DESKTOP-8I4B0O3\SQLEXPRESS2016”
$SqlAdminUser = “scuser”
$SqlAdminPassword=”sa123″
#install client certificate for xconnect
$certParams =
@{
Path = “$PSScriptRoot\xconnect-createcert.json”
CertificateName = “$prefix.xconnect_client”
}
Install-SitecoreConfiguration @certParams -Verbose
#install solr cores for xdb
$solrParams =
@{
Path = “$PSScriptRoot\xconnect-solr.json”
SolrUrl = $SolrUrl
SolrRoot = $SolrRoot
SolrService = $SolrService
CorePrefix = $prefix }
Install-SitecoreConfiguration @solrParams
#deploy xconnect instance
$xconnectParams =
@{
Path = “$PSScriptRoot\xconnect-xp0.json”
Package = “$PSScriptRoot\Sitecore 9.0.0 rev. 171002 (OnPrem)_xp0xconnect.scwdp.zip”
LicenseFile = “$PSScriptRoot\license.xml”
Sitename = $XConnectCollectionService
XConnectCert = $certParams.CertificateName
SqlDbPrefix = $prefix
SqlServer = $SqlServer
SqlAdminUser = $SqlAdminUser
SqlAdminPassword = $SqlAdminPassword
SolrCorePrefix = $prefix
SolrURL = $SolrUrl
}
Install-SitecoreConfiguration @xconnectParams
#install solr cores for sitecore
$solrParams =
@{
Path = “$PSScriptRoot\sitecore-solr.json”
SolrUrl = $SolrUrl
SolrRoot = $SolrRoot
SolrService = $SolrService
CorePrefix = $prefix
}
Install-SitecoreConfiguration @solrParams
#install sitecore instance
$xconnectHostName = “$prefix.xconnect”
$sitecoreParams =
@{
Path = “$PSScriptRoot\sitecore-XP0.json”
Package = “$PSScriptRoot\Sitecore 9.0.0 rev. 171002 (OnPrem)_single.scwdp.zip”
LicenseFile = “$PSScriptRoot\license.xml”
SqlDbPrefix = $prefix
SqlServer = $SqlServer
SqlAdminUser = $SqlAdminUser
SqlAdminPassword = $SqlAdminPassword
SolrCorePrefix = $prefix
SolrUrl = $SolrUrl
XConnectCert = $certParams.CertificateName
Sitename = $sitecoreSiteName
XConnectCollectionService = “https://$XConnectCollectionService”
}
Install-SitecoreConfiguration @sitecoreParams
2. Let’s talk a bit about these parameters
- $prefix = “sc9” :- This is the prefix of Sitecore Site which will be created in IIS. I did a small mistake that I used sc9 as prefix and in $sitecoreSiteName, I used sc9local. Hence my final site came up like sc9.sc9local. Better you use the different prefix, although this can be modified later.
- $PSScriptRoot = “D:\Sitecore9\SC9Install”:- This is the path of Sitecore repository where we place all the zips and JSON files in Step1.
- $XConnectCollectionService = “$prefix.xconnect” : This will be name of your xConnect website which will be configured in IIS.
- $sitecoreSiteName = “$prefix.sc9local”: Choose a name of your site here.
- $SolrUrl = https://localhost:8983/solr: URL of your Solr on HTTPS.
- $SolrRoot = “D:\Sitecore9\solr-6.6.2”: Path of your Solr Root folder where we installed Solr.
- $SolrService = “solr662”: Name of you Solr service configured on HTTPS.
- $SqlServer = “DESKTOP-8I4B0O3\SQLEXPRESS2016”: Name of your SQL Server.
- $SqlAdminUser = “scuser”: SQL Server user with sysadmin rights.
- $SqlAdminPassword=”sa123″: Password for your SQL Server user with sysadmin rights.
3. Once all the parameters are updated, save it as a Powershell script and place the script in some folder. I named it as Sitecore9Install.ps1

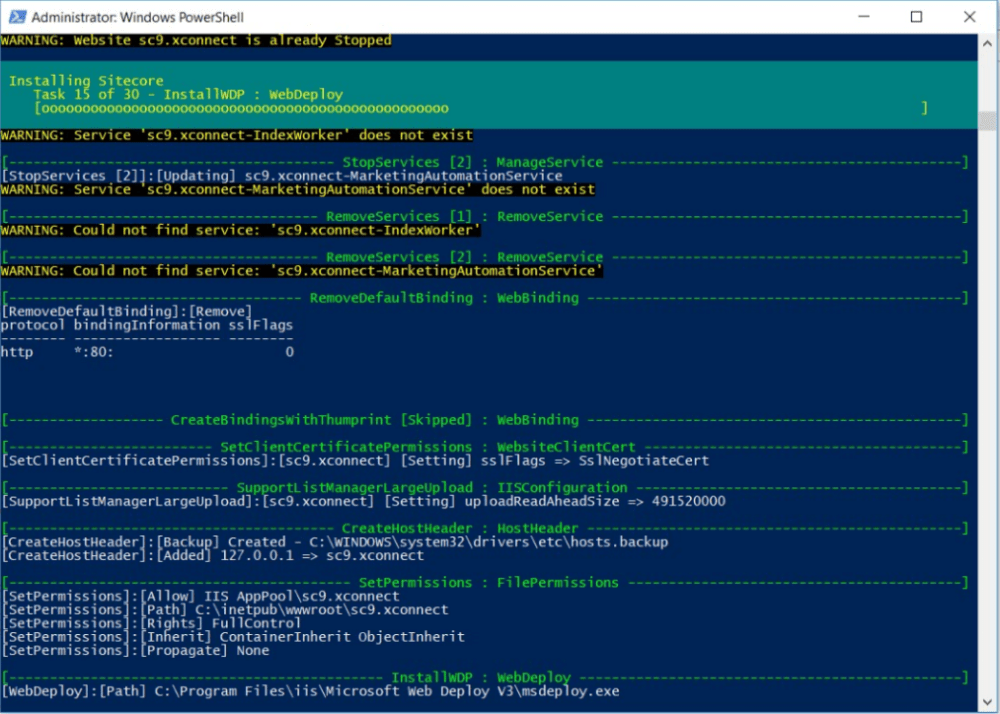
4. Run the Powershell in administrator mode and execute the script

5. Grab a coffee, push back your seat and let the process complete. Here are few screen shots of the process, it took around 5-7 minutes to complete the process for me.


6. And when it is finally a successful install

7. Post successful install you will find two websites installed under IIS. One is your Sitecore another is for xConnect

8. Guess what? We are done. Browse your website.

9. Try login in Sitecore. Ohhh do you have you credentials created? Never mind, as always be default it is admin/b 😛


10. Verify that your xConnect site is also up and running
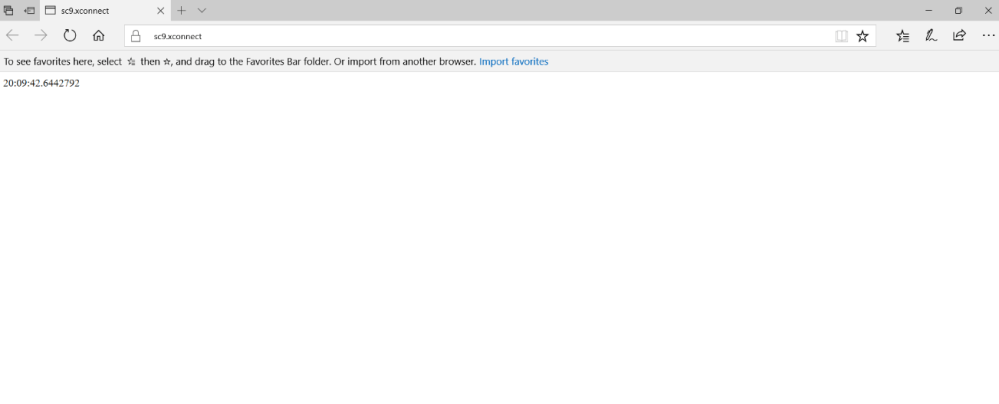
Here you go!!!! Isn’t it exciting?
We are just left with some post installation steps, which are mentioned in the Installation Guide under Chapter 6 and these are very pretty straight forward.
- Add a Recognized User to the xDB Shard Databases
- Rebuild the Search Indexes and the Link Databases
- Deploy Marketing Definitions
- Content Expiration
- Tracking Configuration
Explore the new world of opportunities…


Hello Amitabh,
Thanks for the detailed steps. It’s really helpful.I followed your steps but when I’ve executed Sitecore installation script, I was getting below error:
“Install-SitecoreConfiguration : The property ‘Value’ cannot be found on this object. Verify that the property exists”
Then after spending some time, I came to know that, below lines should be uncommented in solr.in.cmd file.
set SOLR_SSL_TRUST_STORE_PASSWORD=secret
set SOLR_SSL_TRUST_STORE_TYPE=JKS
set SOLR_SSL_NEED_CLIENT_AUTH=false
set SOLR_SSL_WANT_CLIENT_AUTH=false
After doing that, all went smooth. Refer link: https://sitecore.stackexchange.com/questions/9227/install-sitecoreconfiguration-the-property-value-cannot-be-found-on-this-obj
LikeLike
Please provide the link of all steps on top of article. Some time we need to go back.
LikeLike