
As a next step we will be installing Solr and configuring it as a service.
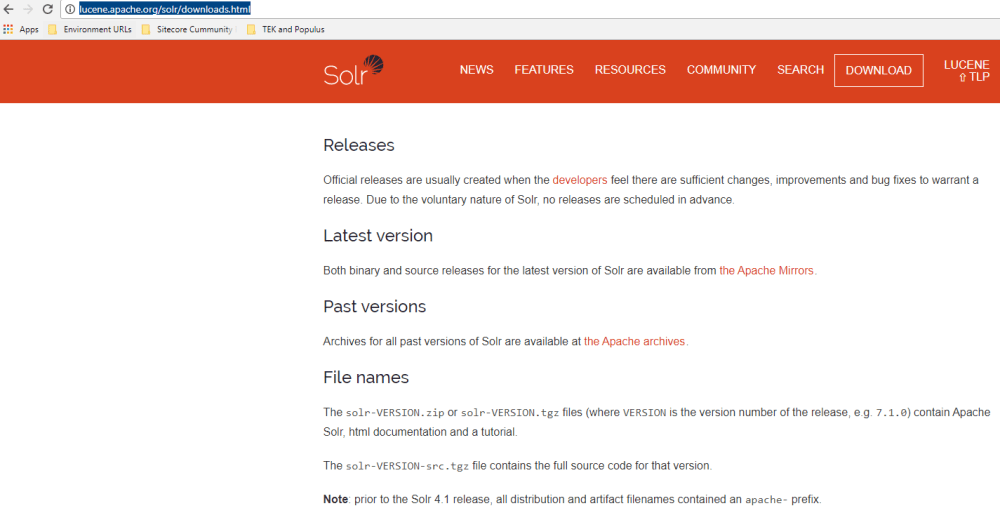
1. Download Solr package from
2. We need Solr 6.6.2 hence rather downloading the latest version we will navigate to “the apache archives” link and download Solr 6.6.2
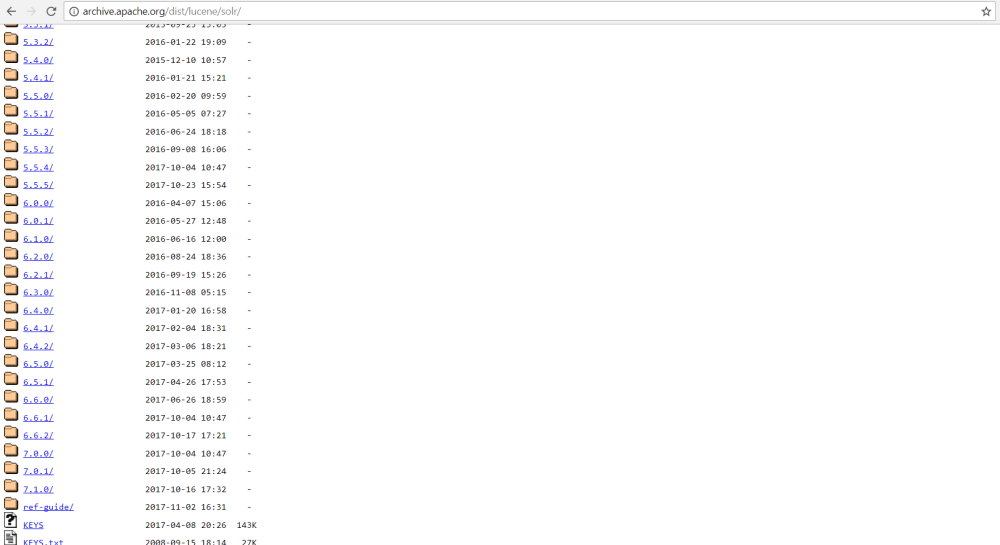
Note: Please note initially I tried using the latest Solr version 7.1.0 but ended up with incompatibility issues as Sitecore 9 rev 171002 doesn’t officially support 7.1.0. Raised a Stack Exchange ticket as well but later on found the issues while discussion with @sitecoregeorge on Community Slack.
3. Extract the zip to a common location, for me it is D:\Sitecore9

4. Let’s test if the Solr is working without HTTPS at this stage. Run the Power shell as administrator and navigate to <<YOUR FOLDER>>\solr-6.6.2\bin. Run the command
.\solr start -p 8983

5. Seems all good. Let’s browse the URL below to check if the Solr admin panel comes up.

6. Cool. Now need to setup the Solr as a service. Before proceeding let’s stop the Solr for now. Run the following command:
.\solr stop -p 8983

7. To setup Solr as a service we need Non Sucking Service Manager installed. Browse the URL below. Go the Downloads option and download the Featured Pre-release package.
 8. Extract the zip file at the same common folder (D:\Sitecore9) and for ease of use Rename the folder to a simple name. I choose NSSMTool

This folder has three folders and two text files.

Based on your Operating System you need to choose whether to chose the nssm.exe from Win32 folder or Win64. For me its Win64.
9. Now open the Windows Command Prompt in Administrator mode, navigate to the <<Your Fodler>>\NSSMTool\bin\win64.
10. Run the following command
Nssm install solr662
Note: Here solr662 will be the name of service which this tools will create. Hence if you want a different name, feel free.
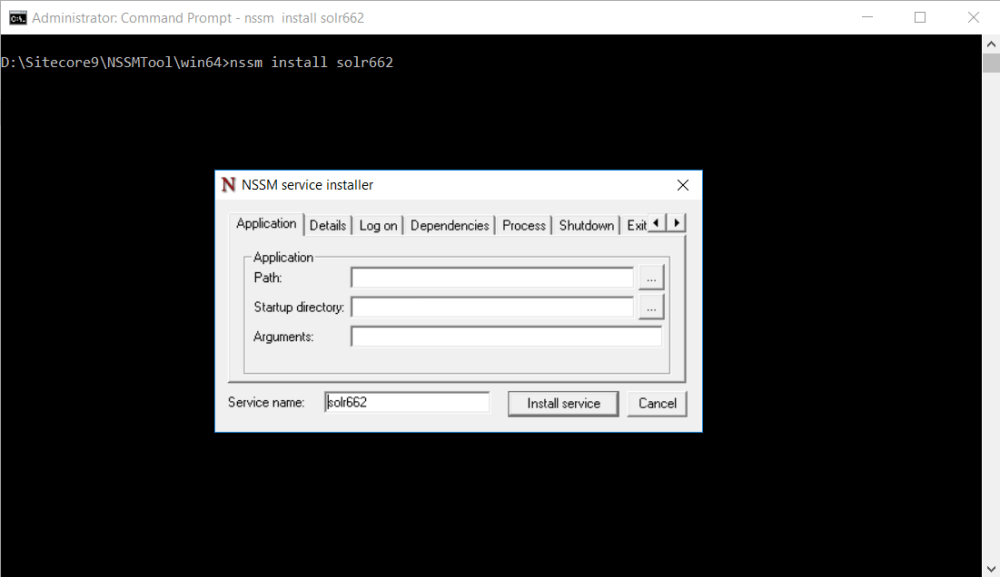
11. Fill the details as required on application tab

12. Fill the details as required on details tab

13. Click on Install Service
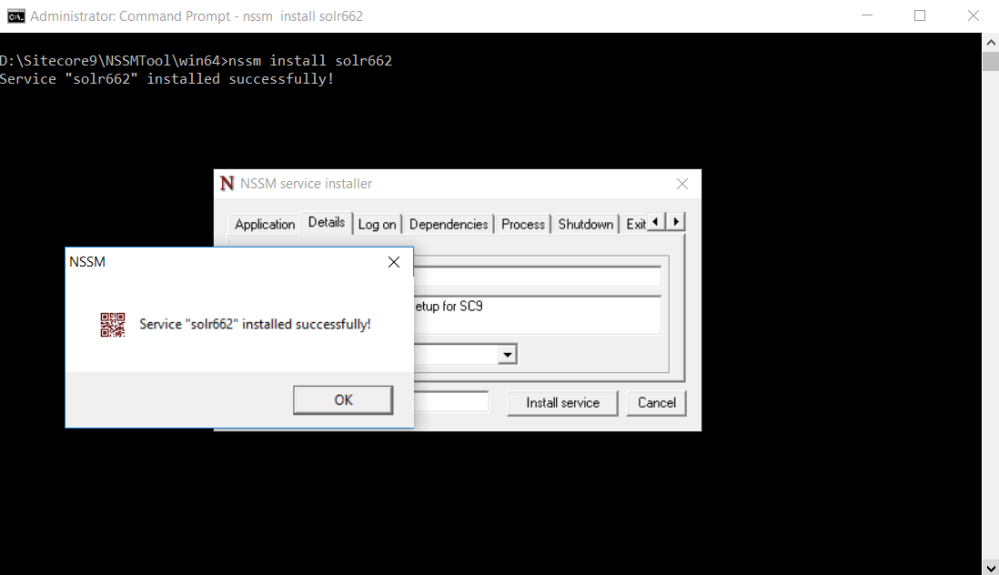
14. Let’s verify that the service is installed successfully.

15. Start the service

16. Verify that the Solr admin panel is coming up without HTTPS

You are all set to have Solr installed and configured on your system but without HTTPS. As a next step we will generate Keystore to run Solr on HTTPS.

One Comment Add yours