
As we know that XP 9 is all about tightening the security hence we need to setup HTTPS for Solr.
Well there are many ways to do that either you can follow the steps provided in the Installation Guide which we downloaded earlier or follow the easy way given by our own Kam Figy. Kam wrote a single and excellent Power shell script which is sufficient enough to do the whole job in quick and easy way.
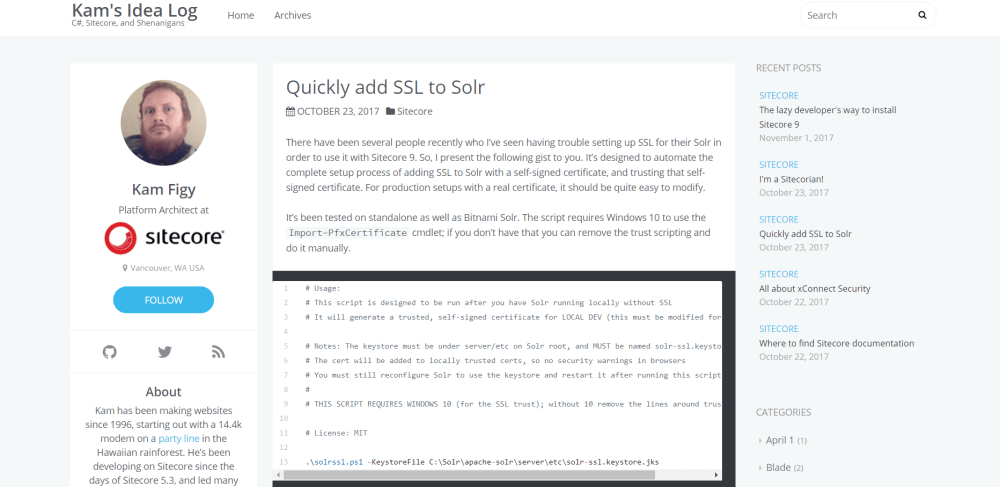
1. Browse to the Kam’s blog post mentioned below:
https://kamsar.net/index.php/2017/10/Quickly-add-SSL-to-Solr/
2. Copy the powershell script and paste in an editor like Notepad++ or similar

3. The script uses the Keytool.exe, hence you need update the path of the exe where is it located in your system. You can find the Keytool.exe on the Java folder.
For me the path is D:\Sitecore9\jre1.8.0_151\bin.

4. Save the file as a powershell script. I saved it as solrssl.ps1 in my SC9Install folder. Run powershell script in administrator mode

5. Run the following command
.\solrssl.ps1 -KeyStoreFile D:\Sitecore9\solr-6.6.2\server\etc\solr-ssl.keystore.jks
Note: The path mentioned in the command is the path where we need to create the Keystore file. I am creating that in “D:\Sitecore9\solr-6.6.2\server\etc” folder with name as solr-ssl.keyword.jks

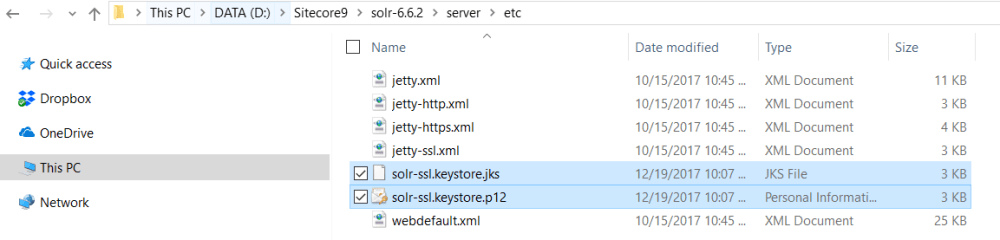
6. Once the command is successfully executed, let’s check that the files are created in the destination folder. Please see in the screen shot below that two files with .jks and .p12 extension are created.
7. As a next step we need to uncomment few lines from D:\Sitecore9\solr-6.6.2\bin\solr.in.cmd file

8. Open this file in Notepad++ or similar editor
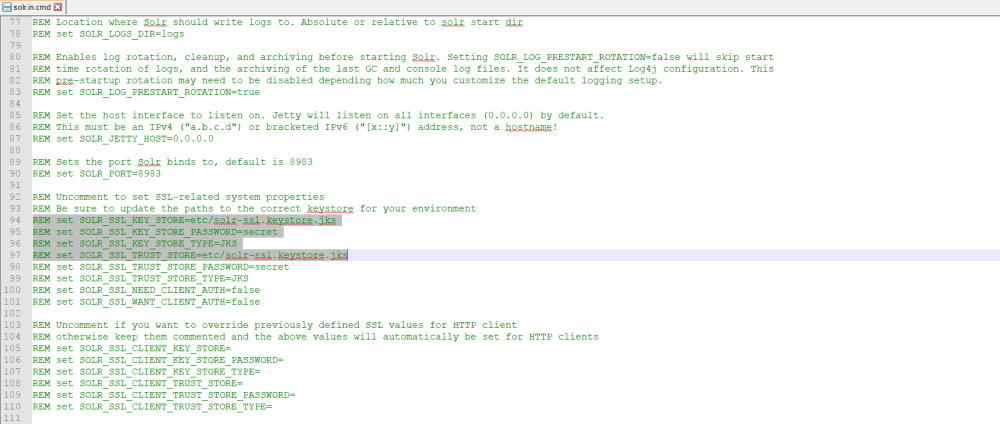
9. Remove the REM from the section about SSL, most probably line number 94 to 97.

10. Save the file and restart the Solr service. Now verify that the Solr admin panel is up.
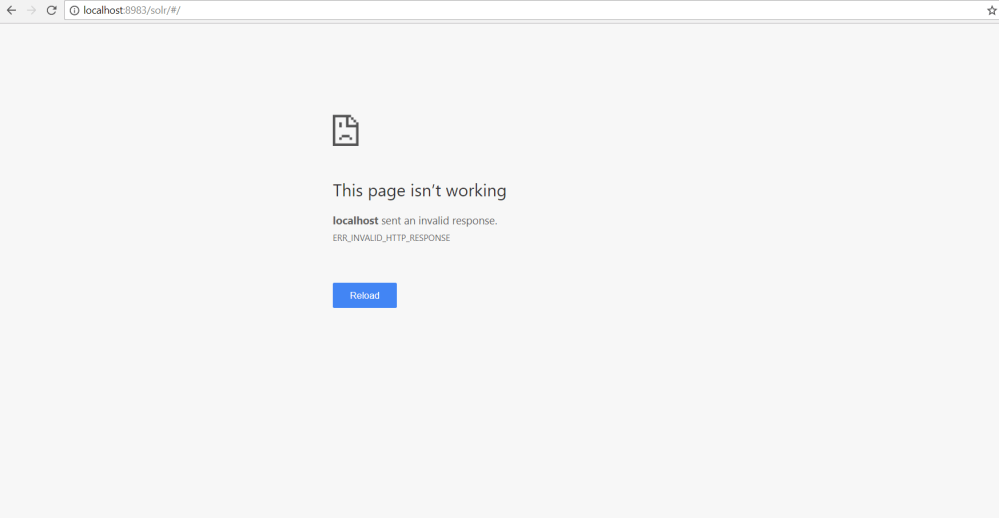
11. You will find that the Solr is Down. Did you notice that we are verifying on HTTP but it must be on HTTPS now

You are all set with Solr running on HTTPS.

One Comment Add yours